The Raspberry Pi 3 as a documentation platform
Set up a complete documentation platform on a Raspberry Pi 3: install Sphinx, generate PDF, HTML, and EPUB from reStructuredText, and manage content with Git.
Objective
Section titled “Objective”Do you need a lot of power to generate professional documentation? With its single gigabyte of RAM and smartphone-like processor, the Raspberry Pi 3 seems fit for an early 2000s office workstation. In practice, however, a computer costing around 40 euros is more than enough to create, manage, and generate documentation in PDF, HTML, or other target formats.
Configure the Raspberry Pi 3
Section titled “Configure the Raspberry Pi 3”Prerequisites
- 32 GB class 10 micro-SD card (recommended).
- Wired or Wi-Fi Internet connection.
-
Install the Raspberry Pi OS distribution on your Raspberry Pi 3 using Raspberry Pi Imager.
-
Select
Menu‣Preferences‣Raspberry Pi Configuration.The
Raspberry Pi Configurationdialog box appears. -
Select the
Locationtab. -
Click
Set Locale, select the following options, then clickOK:Option Value Language fr (French) Country FR Character Set UTF-8 This table shows the default configuration settings for a French-speaking environment:
- Language: French
- Country: France
- Encoding: UTF-8, for optimum compatibility with special and accented characters.
-
Click
Set Keyboard, select the values corresponding to your keyboard, then clickOK. -
Click
OKin theRaspberry Pi Configurationdialog box. -
Select
Menu‣Accessories‣Terminal. -
Update the system:
Terminal window sudo apt update && sudo apt full-upgrade -yTime to read an episode of The Silver Surfer, and the system is updated.
-
Select
Menu‣Shutdown‣Reboot.The Raspberry Pi 3 restarts.
Install the software needed to manage this blog
Section titled “Install the software needed to manage this blog”-
Select
Menu>Accessories>LXTerminal. -
Install the following software packages:
Terminal window sudo apt install -y calibre emacs gitk inkscape python3-sphinx texlive-fullBy the time I’ve read five or six episodes of The Amazing Spider-Man, the following software has been installed:
Software Description Calibre Digital Book Manager. Emacs Integrated Development Environment. Gitk Decentralized version control software history browser. Inkscape Vector drawing software. Python Sphinx Documentation generator based on reStructuredText format. Texlive Complete LaTeX environment for PDF blog generation. -
Free up disk space:
Terminal window sudo apt clean
Get the sources for this blog
Section titled “Get the sources for this blog”-
Clone the Git repository of this blog’s sources:
Terminal window git clone https://github.com/olivier-carrere/redaction-technique.org.git -
Go to the source directory of this blog:
Terminal window cd redaction-technique.org
Create and modify text
Section titled “Create and modify text”- Modify a modular source file of this blog using:
-
A text editor:
Terminal window leafpad *coin-du-geek.rst & -
Emacs:
Terminal window emacs *coin-du-geek.rst & -
A command-line editor:
Terminal window sed -i "s/directory/folder/g;" *.rst
-
Create and modify diagrams
Section titled “Create and modify diagrams”- Modify a diagram source file from this blog using:
-
Vector graphics software:
Terminal window inkscape graphics/modulaire-texte-monolithique-binaire.svg & -
A command-line editor:
Terminal window sed -i "s/docbook/XML/g;" graphics/*.svg
-
Manage your documentation versions
Section titled “Manage your documentation versions”-
Start your batch of modifications in Git:
Terminal window git config --global user.email "your email"git config --global user.name "your name"git add *.rstgit commit -m "My batch of text modifications"git add graphics/*.svggit commit -m "My batch of image modifications" -
View the modification history of this blog’s sources:
Terminal window gitk &O surprise, you’re looking at a GUI! It’s so beautiful, we’re going to take a photo:
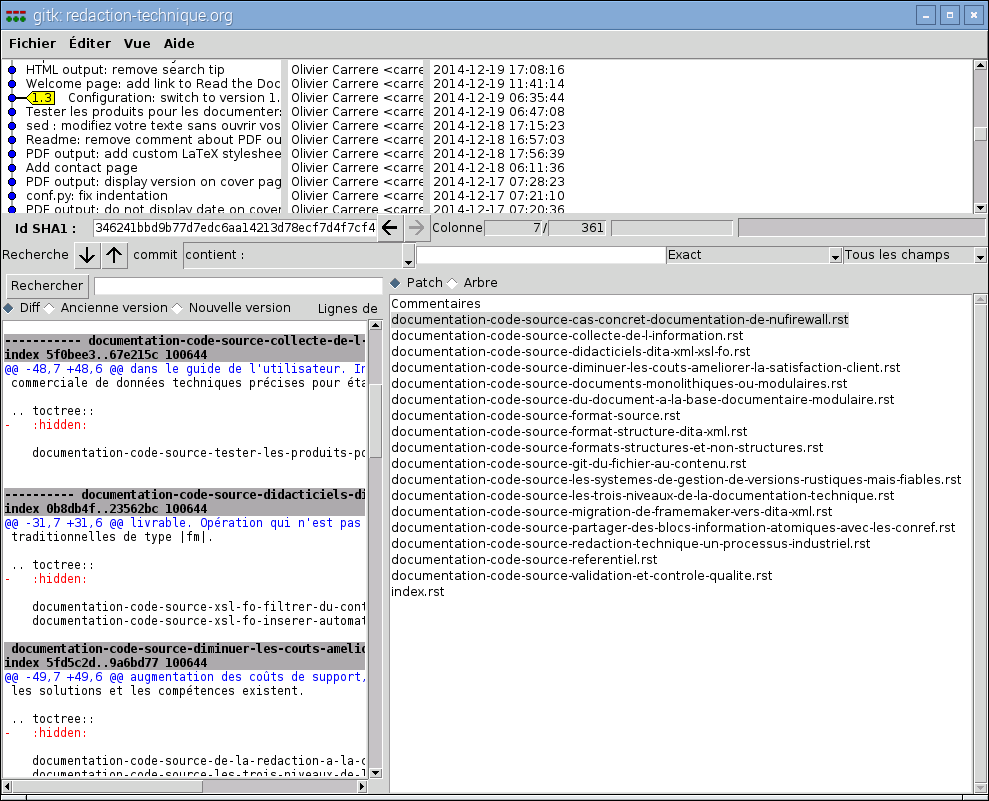
An atomic commit spanning a good fifteen files
Generate your documentation
Section titled “Generate your documentation”-
Return to the terminal, then retrieve the latest tagged version of this blog:
Terminal window git checkout $(git describe --tags $(git rev-list --tags --max-count=1))
-
Generate the latest tagged version of this blog in PDF, HTML, and EPUB formats:
Terminal window make all -
Display the blog in PDF format:
Terminal window xpdf _build/latex/redaction-techniqueorg.pdf & -
Display the blog in HTML format:
Terminal window epiphany _build/html/index.html & -
Display the blog in EPUB format:
Terminal window ebook-viewer _build/epub/redaction-techniqueorg.epub &
And there you have it. In just a few minutes, you have:
- Applied conditional text rules to common sources according to publication format. This content is called an e-book in the EPUB version, a document in the PDF version, and something else in the HTML version.
- Generated, in three different formats, a 60-page documentation including some 40 diagrams.
The Raspberry Pi 3 is an entirely credible documentation platform, provided you do without, or almost without, a graphical interface!
The next tests will be to generate the DITA XML version of this blog, and to generate the blog on a smartphone by installing a Linux distribution on Android.